
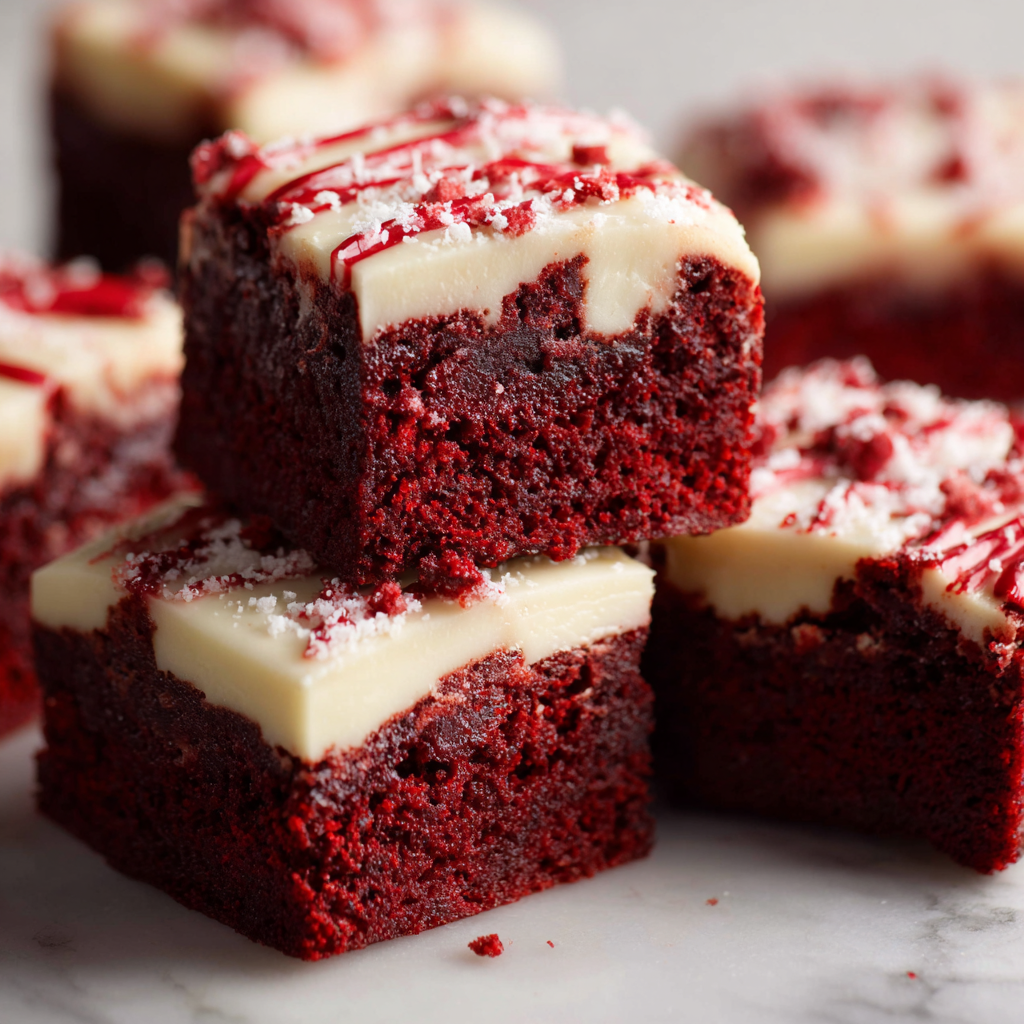
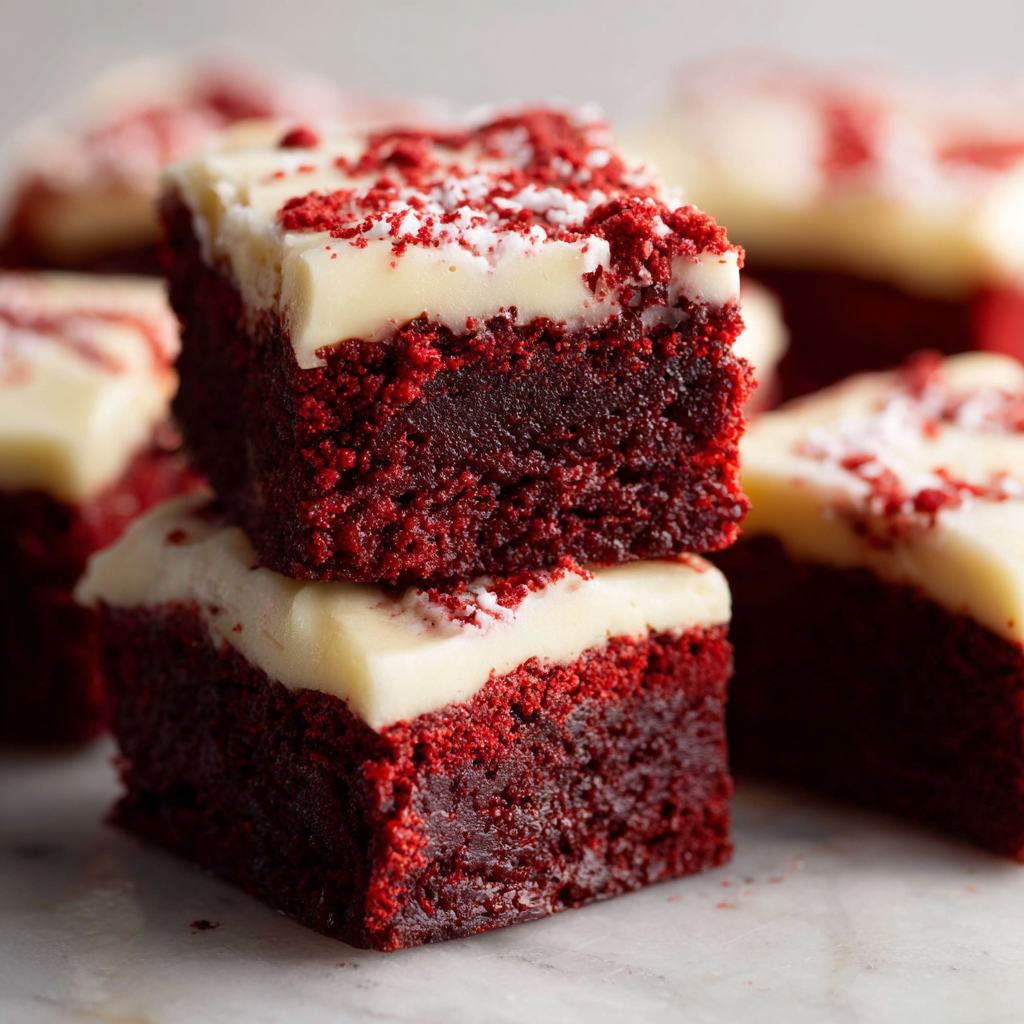
Red Velvet Brownies

Perfectly fudgy red velvet brownies with a silky cream cheese frosting. Rich, tender, and easy to make for parties or cozy nights in.
This recipe for perfectly fudgy red velvet brownies has been a favorite in my kitchen since I first adapted an old family chocolate square into something a little more celebratory. I remember discovering the balance between deep cocoa flavor and that signature red color one chilly afternoon while baking for a friend’s birthday. The result was a dense, moist brownie with a soft, barely cakey edge and a color that always makes people smile. It quickly became a requested offering for potlucks and school events because it combines the decadence of a brownie with the creaminess of classic red velvet frosting.
What makes these squares special is the texture contrast. The interior stays fudge-like thanks to a higher fat ratio and gentle mixing while a thin, slightly crisp top forms in the oven. A simple cream cheese topping finishes each square with tang and sweetness, cutting the richness and bringing a fresh lightness. I developed this version to be straightforward and forgiving for home cooks. With a few pantry staples and basic equipment you can bake a pan that slices cleanly and travels well. Whether you bake these for a holiday table or a weeknight treat, they deliver a reliably indulgent bite.
Why You'll Love This Recipe
- Fudgy texture that stays moist for days when stored correctly, so you can bake ahead for gatherings and still have great results.
- Uses common pantry staples like granulated sugar, cocoa, and flour plus a small amount of oil to keep the crumb tender and dense rather than airy.
- Quick to prepare with about 10 minutes active hands-on time and a 30 minute bake, making it ideal for last-minute entertaining.
- Cream cheese topping is easy to make by hand or with a mixer and spreads smoothly for a polished finish; no piping experience necessary.
- Adaptable: leave in white chocolate chips for extra sweetness, add a swirl of ganache, or omit the frosting for a classic brownie-style bar.
- Beautiful presentation and crowd-pleasing flavor that works well for birthdays, bake sales, and holiday dessert tables.
I first brought these to a small holiday brunch and watched them disappear before coffee was poured. Family members complimented the tender crumb and the tang of the frosting and a neighbor even asked for the recipe on a napkin. I love that a simple pan of baked goodness can create that kind of warmth and connection at the table.
Ingredients
- Unsalted butter: Use 3/4 stick melted for the batter and 3/4 stick softened for the frosting. Real butter gives a rich mouthfeel and helps the top set. Choose a high-quality block butter rather than tubs for better flavor and texture.
- Sugar: 1 cup granulated plus 1/4 cup light brown sugar adds sweetness and a hint of molasses depth. Brown sugar contributes to chewiness and keeps the interior moist.
- Eggs: 3 large eggs and 1 extra yolk provide structure and an extra hit of richness that helps the brownies remain fudgy rather than cakey.
- Vegetable oil: 1/3 cup keeps the bite tender and gives a glossy, fudgy interior. Neutral oil is best so the cocoa and cream cheese flavors can shine.
- Cocoa powder: 1/4 cup unsweetened cocoa for that subtle chocolate backbone. Choose natural unsweetened cocoa for the classic red velvet balance with vinegar and baking chemistry.
- All-purpose flour: 3/4 cup gives enough structure without drying the batter. Measure by spooning into the cup and leveling with a knife for accuracy.
- Vinegar and cornstarch: 1 tablespoon vinegar brightens the flavor and reacts with the cocoa for a true red velvet tang. 1 tablespoon cornstarch helps set the texture so slices are tidy.
- Red food coloring: 1/2 teaspoon gel coloring yields vivid color without thinning the batter. Add gradually if you prefer a subtler hue.
- White chocolate chips: 3/4 cup optional for pockets of sweet contrast. Fold in gently to maintain the batter’s density.
- Cream cheese frosting: 4 ounces cream cheese, 3/4 stick softened butter, 4 cups powdered sugar, and 1 teaspoon vanilla for a classic, spreadable topping that complements the fudgy base.
Instructions
Prepare the pan and preheat: Line an 8-inch square pan with parchment paper leaving an overhang for easy removal. Preheat the oven to 350°F. Proper preheating ensures even bake and that thin glossy top forms across the batter. Melt butter and combine sugars: Melt 3/4 stick unsalted butter in 30 second bursts in the microwave and stir until smooth. In a large bowl whisk together 1 cup granulated sugar and 1/4 cup light brown sugar, then whisk in the melted butter until evenly combined and slightly glossy. This distributes fat for a consistent crumb. Add eggs and flavor: Whisk in 3 large eggs, 1 large egg yolk, and 1 teaspoon vanilla. Mix gently and stop once uniform. Overmixing traps air which produces a lighter, cakier result; the goal here is a dense, fudgy texture. Add oil and cocoa: Stir in 1/3 cup vegetable oil and 1/4 cup unsweetened cocoa powder until completely combined and smooth. The oil keeps the center moist and glossy while the cocoa provides the chocolate base without overpowering the red color. Color the batter: Spoon two tablespoons of batter into a small bowl and add 1/2 teaspoon gel red food coloring, stirring until evenly colored. Fold this colored portion back into the main bowl and mix with a spatula until uniformly red. Gel color works best because it adds no extra liquid. Fold in dry ingredients and vinegar: Switch to a rubber spatula and fold in 3/4 cup all-purpose flour, 1 tablespoon cornstarch, and 1/4 teaspoon salt until no streaks remain. Stir in 1 tablespoon vinegar until incorporated. If using white chocolate chips, fold in 3/4 cup now. Bake: Pour batter into the prepared pan, smooth the top, and bake 20 to 25 minutes. A skewer should come out with moist crumbs clinging but not wet batter. Allow the pan to cool completely on a rack before frosting so the topping does not melt. Make the frosting: Beat 4 ounces room temperature cream cheese with 3/4 stick softened butter until smooth. Gradually add 4 cups powdered sugar and beat on high for a few minutes until light and fluffy, then beat in 1 teaspoon vanilla. Spread evenly over cooled bars and refrigerate briefly to set for clean slicing.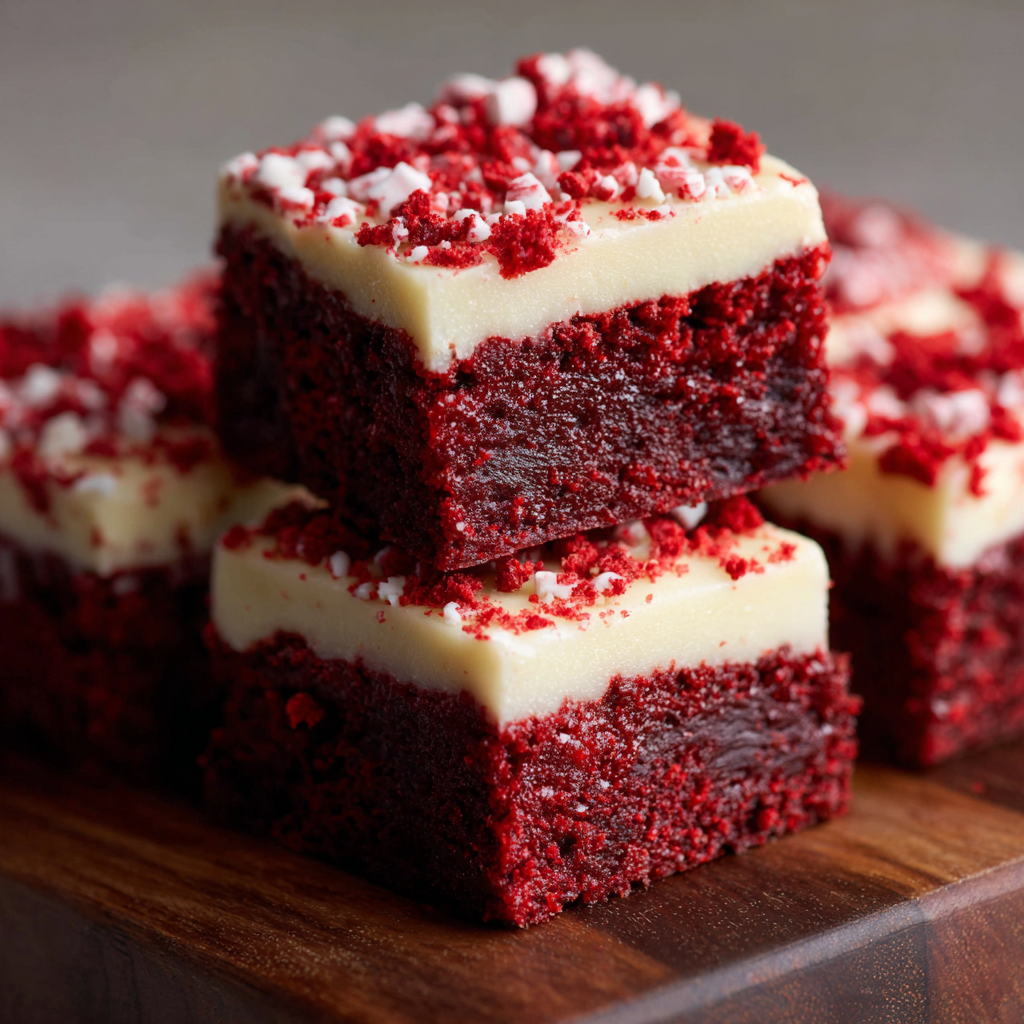
You Must Know
- These bars keep well at room temperature under a cake dome for 24 hours and refrigerate for up to 4 days. For longer storage freeze uncut bars wrapped tightly for up to 3 months.
- They are moderately sweet and rich. The frosting adds tang and balances the sugar. If traveling, chill until firm and slice with a warm knife for neat portions.
- High in calories and sugar per serving, so portion accordingly. Each square contains roughly 367 kcal and about 57 grams carbohydrate.
- To check doneness look for a thin shiny crust and a skewer that removes with a few moist crumbs attached rather than wet batter.
I love how forgiving this recipe is. Even when I’m rushing and the oven is slightly off, the texture holds up. Friends have commented that the cream cheese layer tastes like a bakery finish, and kids always request an extra corner piece. It’s those little victories in the kitchen that make me return to this recipe again and again.
Storage Tips
Store the frosted bars in an airtight container in the refrigerator for up to four days. If you prefer room temperature, keep them covered and consume within 24 hours to maintain the frosting texture. For freezing, slice into squares and place parchment between layers, then wrap the entire stack in plastic wrap and then foil. Thaw in the refrigerator overnight and bring to room temperature before serving to avoid condensation on the frosting.
Ingredient Substitutions
If you do not have vegetable oil use light olive oil or melted coconut oil, keeping in mind a slight flavor change. To make these nut free, avoid any chocolate chips that may be processed in facilities with nuts. For a dairy-free variation, use vegan butter and cream cheese alternatives, though texture will be slightly less rich and frosting may be a touch softer.
Serving Suggestions
Serve squares with a dusting of cocoa or a few white chocolate shavings for an elegant touch. Pair with coffee or lightly sweetened tea to balance the richness. For parties, arrange on a platter with fresh berries to add color contrast and a bright counterpoint to the creamy topping.
Cultural Background
Red velvet is an American classic with roots in Southern baking. It celebrates a subtle chocolate flavor highlighted by vinegar and buttermilk or acid. These bars are an evolution of that tradition scaled down to a dense, brownie-like treat that nods to the original with tangy frosting and a warm red hue.
Meal Prep Tips
Make the batter the night before and refrigerate covered. Bake the next day and finish with frosting once cooled. Alternatively, prepare the frosting ahead and keep chilled. For grab-and-go portions, individually wrap squares in parchment and store in the fridge for lunchbox treats.
These brownies are a go-to for me when I want a dessert that feels special but does not require complicated techniques. Please make them your own, whether you add chips, a swirl, or a sprinkle of flaky salt. Baking is, after all, about sharing and enjoying together.
Pro Tips
Do not overmix after adding the flour; folding preserves a dense, fudgy interior.
Use gel food coloring to avoid adding extra liquid and to achieve a deep red color with less product.
Cool completely before frosting to prevent the topping from melting and sliding off.
This nourishing red velvet brownies recipe is sure to be a staple in your kitchen. Enjoy every moist, high protein slice — it is perfect for breakfast or as a wholesome snack any time.
FAQs about Recipes
How long will these keep?
Yes. The bars keep well at room temperature for 24 hours in an airtight container. For longer life refrigerate up to 4 days.
What type of food coloring should I use?
Use gel red food coloring for vivid color without thinning the batter. Add a bit at a time until desired hue.
Tags
Red Velvet Brownies
This Red Velvet Brownies recipe makes perfectly juicy, tender, and flavorful steak every time! Serve with potatoes and a side salad for an unforgettable dinner in under 30 minutes.
Ingredients
For the Red Velvet Brownies
For the Cream Cheese Frosting
Instructions
Prepare pan and preheat
Line an 8-inch square pan with parchment and preheat oven to 350°F. Proper preheating ensures even baking and formation of a thin shiny crust on top.
Melt butter and combine sugars
Melt 3/4 stick butter and whisk together with 1 cup granulated sugar and 1/4 cup light brown sugar until combined and glossy to distribute fat evenly in the batter.
Add eggs and vanilla
Whisk in 3 large eggs, 1 egg yolk, and 1 teaspoon vanilla. Mix gently and stop once uniform to avoid adding air which makes the final product cakey.
Add oil and cocoa
Stir in 1/3 cup vegetable oil and 1/4 cup cocoa powder until smooth. Oil provides moisture while cocoa gives chocolate depth without overwhelming the red color.
Color the batter
Mix a couple tablespoons of batter with 1/2 teaspoon gel red food coloring until even, then fold back into the main batter until uniformly colored.
Fold dry ingredients and vinegar
Using a spatula fold in 3/4 cup flour, 1 tablespoon cornstarch, and 1/4 teaspoon salt. When no streaks remain stir in 1 tablespoon vinegar. Fold in 3/4 cup white chocolate chips if using.
Bake and cool
Bake for 20 to 25 minutes until a skewer removes with moist crumbs. Remove from oven and cool completely in the pan before frosting to prevent meltdown.
Make and spread frosting
Beat 4 ounces cream cheese with 3/4 stick softened butter until smooth. Gradually add 4 cups powdered sugar, beat until fluffy, stir in 1 teaspoon vanilla, then spread over cooled bars.
Last Step: Please leave a rating and comment letting us know how you liked this recipe! This helps our business to thrive and continue providing free, high-quality recipes for you.
Nutrition
Did You Make This?
Leave a comment & rating below or tag
@kitchenfunwithmy3sons on social media!
Categories:
You might also like...
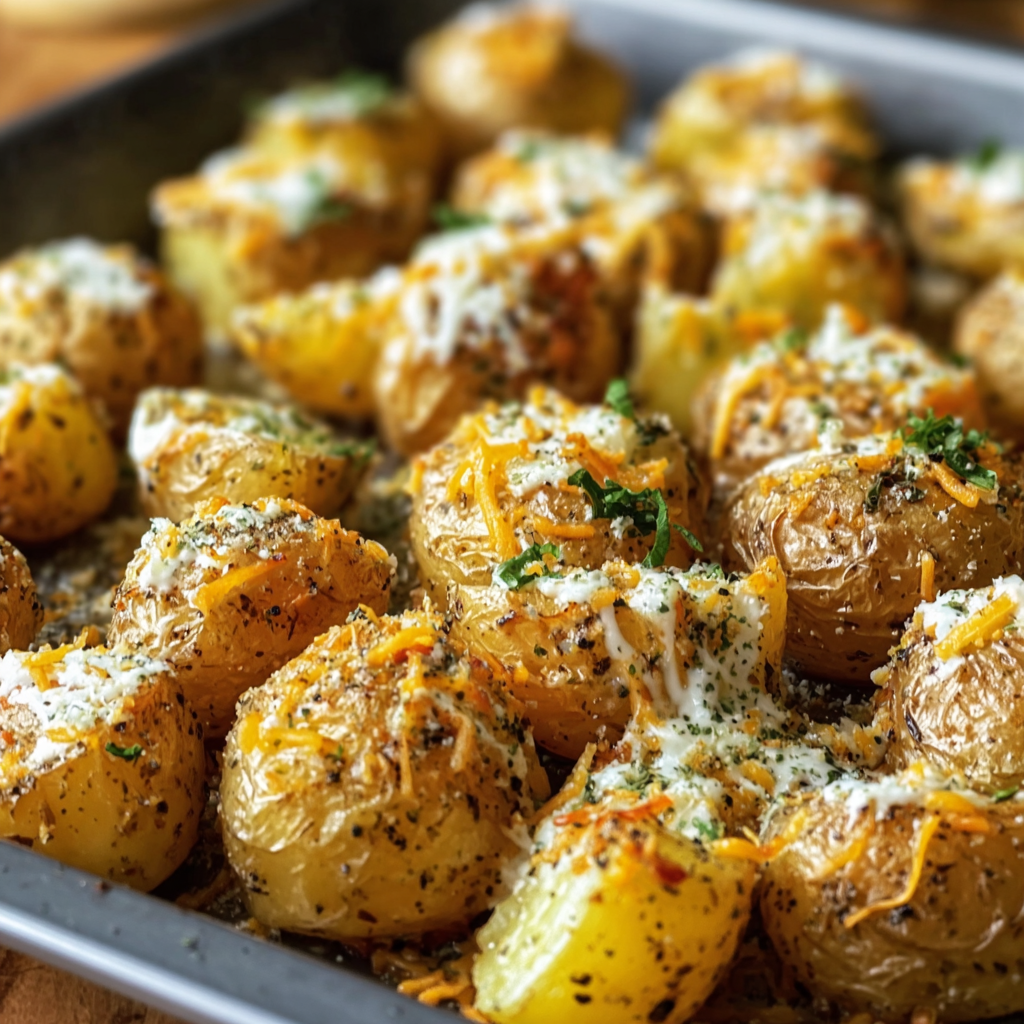
Cheesy Ranch Oven Roasted Potatoes
Golden baby potatoes roasted until crisp and tossed in ranch seasoning, Parmesan, and melty cheddar — an easy, crowd-pleasing side that’s ready in under an hour.
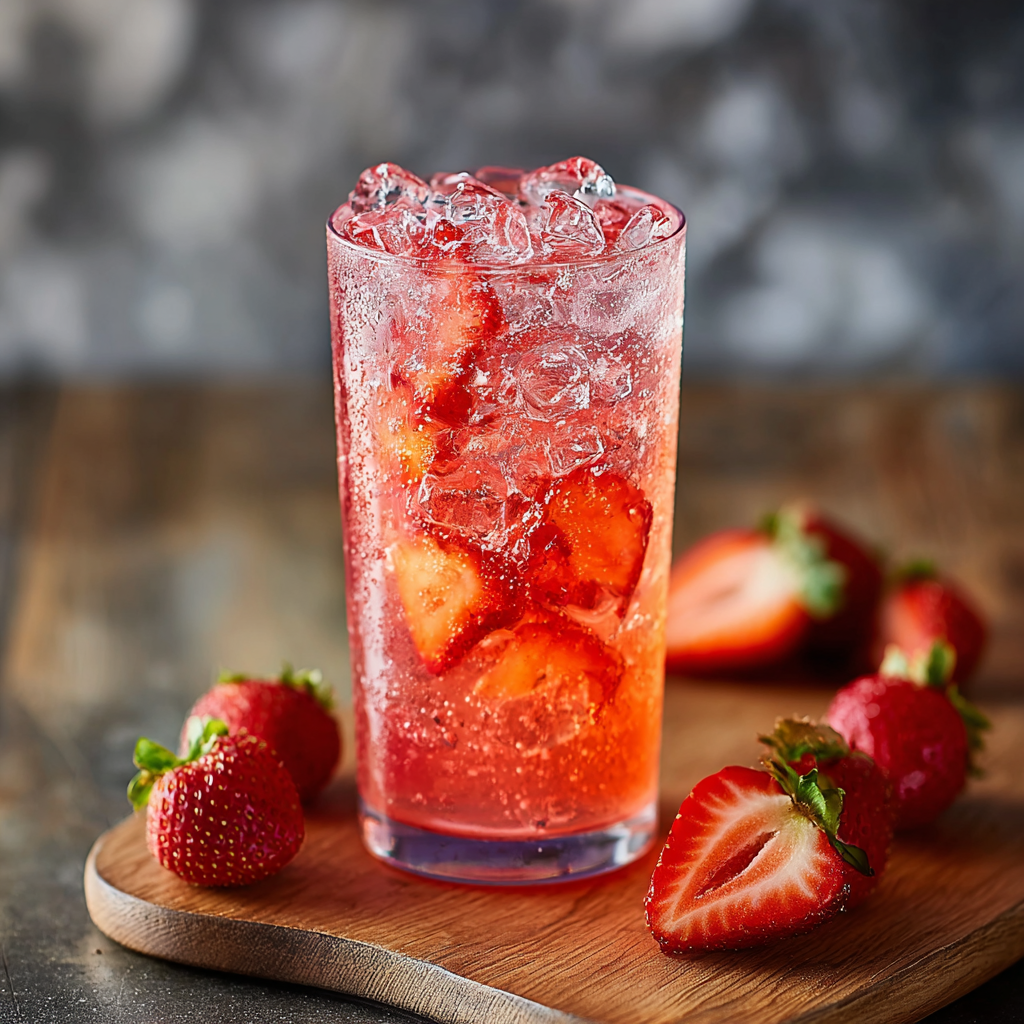
Strawberry Dirty Sprite Drink
A fizzy blend of strawberry syrup, fresh lime, and lemon-lime soda, served chilled with vibrant garnishes for the ultimate refreshing beverage — boozy or not.
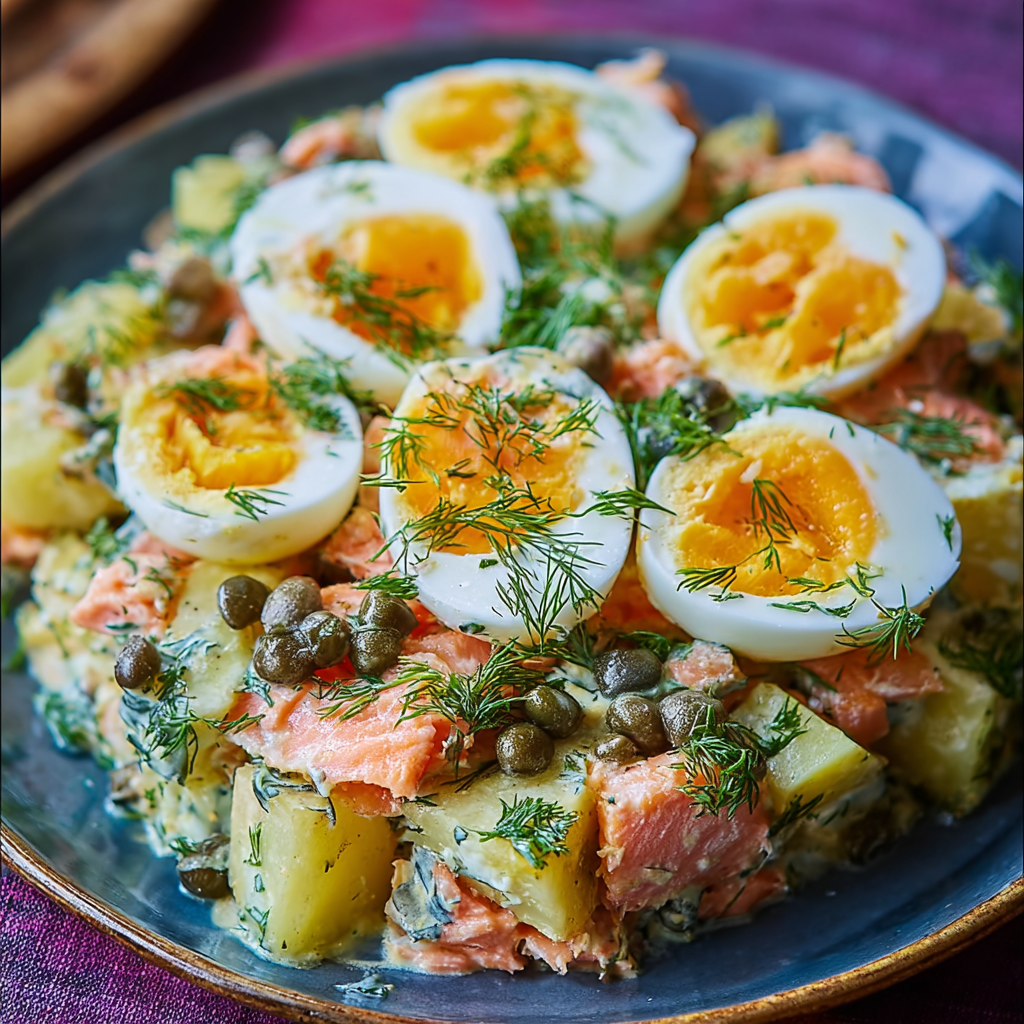
Russian Salmon Potato Salad with Eggs, Dill & Capers
A satisfying Russian-style salad combining seared salmon, tender baby potatoes, soft-boiled eggs, dill, capers and gherkins — perfect for light lunches or a weekend gathering.
Did You Make This?
Leave a comment & rating below or tag @kitchenfunwithmysons on social media!
Rate This Recipe
Share This Recipe
Enjoyed this recipe? Share it with friends and family, and don't forget to leave a review!
Comments (1)
This recipe looks amazing! Can't wait to try it.
Comments are stored locally in your browser. Server comments are displayed alongside your local comments.

Hi, I'm Katie!
What's Popular
30-Minute Meals!
Join to receive our email series which contains a round-up of some of our quick and easy family favorite recipes.