
No-Bake Funfetti Oreo Icebox

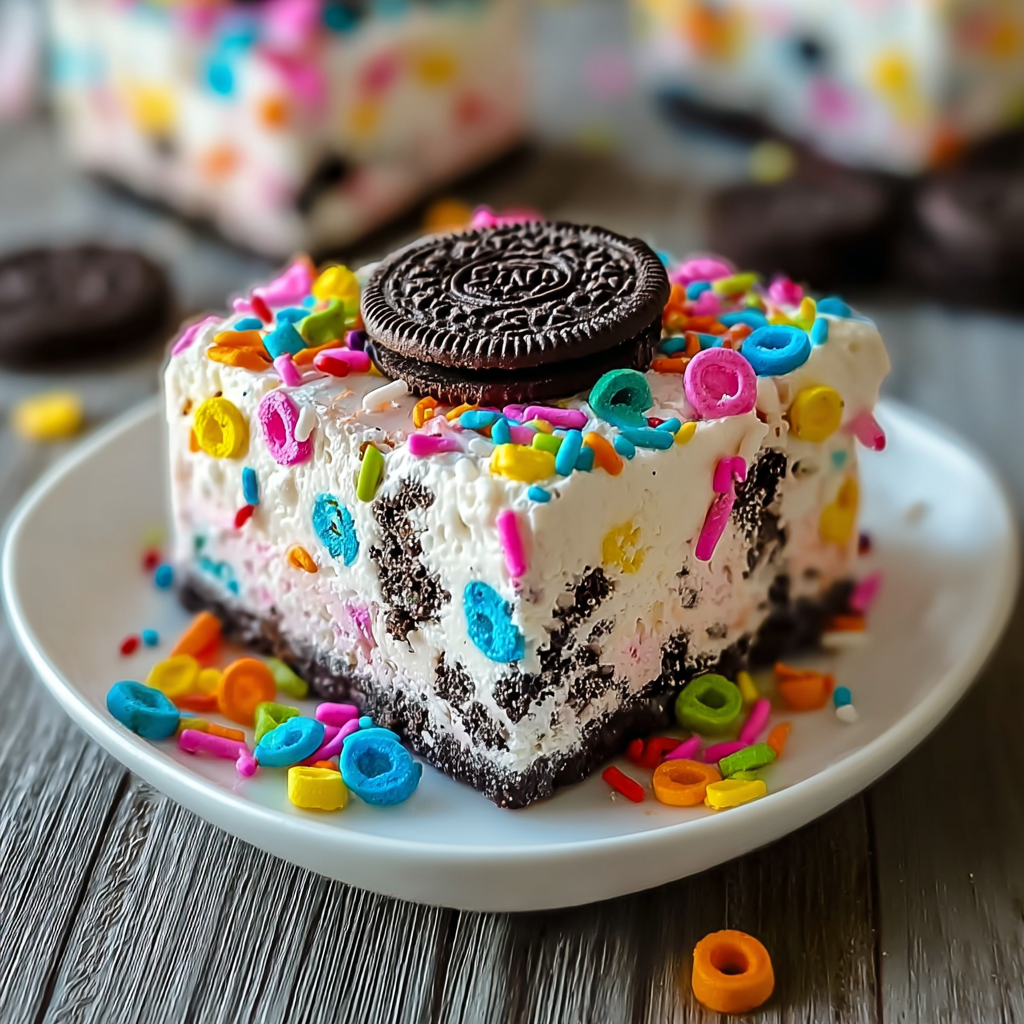
Chilled layers of Oreos, silky cream cheese mousse, whipped cream and rainbow sprinkles make this no-bake celebration dessert perfect for parties and easy entertaining.
This No-Bake Funfetti Oreo Icebox has been our go-to party centerpiece for birthdays, casual get-togethers and those weekends when I want something festive with very little hands-on time. I discovered this layered combination during a summer of testing chilled desserts for a friend’s backyard bash and immediately fell in love with how the crunchy Oreo base plays against the pillowy cream layer. The first time I served it everyone reached for seconds, and the colorful sprinkles made it impossible for kids and adults not to smile. It’s one of those simple recipes that feels celebratory without requiring elaborate baking skills.
What makes this dessert special is the contrast of textures and the ease of assembly. Crushed Oreo cookies create a sturdy, familiar base and layer, while a whipped cream and cream cheese mixture creates a light, stable mousse that sets in the refrigerator. The sprinkles fold into the cream to give that classic “funfetti” look and little pops of color in every slice. Because it’s chilled rather than baked, flavors meld slowly as it rests, which intensifies the chocolate-and-cream harmony. I often prepare it the night before and find the slices come out clean and satisfying the next day.
Why You'll Love This Recipe
- Ready with just 25 minutes of active work—perfect when you need a showstopping dessert without complicated steps.
- Uses pantry staples and a single package of sandwich cookies, heavy cream and cream cheese—easy ingredients you likely have on hand.
- No oven required: assemble, chill and serve. Ideal for hot weather, dorm rooms or after-school treats.
- Make-ahead friendly—chill overnight for the best texture and clean slices, which makes this great for parties and potlucks.
- Customizable: add mini chocolate chips, different sprinkles, or swap the cookie layer for a different flavored sandwich cookie to change the flavor profile.
- Crowd-pleasing: colorful, nostalgic and approachable for kids and adults; the contrast of crunchy cookie and airy cream is universally appealing.
I remember serving this at a July backyard barbecue; the kids dug in first, then the grownups circled back for a second slice. The simplicity of the technique—whipping cream to stiff peaks, folding into softened cream cheese, layering—means you can focus on presentation and garnishes. It’s become one of those desserts I reach for when I want something that feels festive but won’t keep me in the kitchen all day.
Ingredients
- Base: 1 package (14.3 oz) Oreo sandwich cookies — choose classic Oreos or chocolate sandwich cookies; a single standard package provides enough cookies to form two or three even layers in a 9x13-inch dish.
- Cream layer: 1 cup heavy cream — use full-fat heavy cream (not light); it whips to stable peaks that give structure to the chilled cream layer.
- Cream layer: 1 cup powdered sugar — sifted if lumpy; powdered sugar sweetens and stabilizes the whipped cream without graininess.
- Cream layer: 8 oz cream cheese, softened — room-temperature cream cheese blends smoothly with the whipped cream to create a mousse-like texture; don’t use low-fat varieties for best results.
- Cream layer: 1 teaspoon vanilla extract — pure vanilla brings out the dairy and chocolate notes and balances the sweetness.
- Mix-ins: 1/2 cup rainbow sprinkles — fold in gently for pops of color; use jimmies rather than nonpareils to avoid bleeding colors into the cream.
- Optional: 1/2 cup mini chocolate chips — adds chocolate bite and texture; mini chips stay suspended well in the chilled cream.
Instructions
1. Whip the cream: Chill your mixing bowl and beaters in the freezer for 10 minutes. Pour 1 cup of cold heavy cream into the chilled bowl and add 1 cup powdered sugar. Using an electric hand mixer or stand mixer, whip on medium-high speed until stiff peaks form—you should be able to lift the beaters and have peaks stand straight for several seconds. This provides the light structure for the mousse-like filling and helps the layers hold when chilled. 2. Smooth the cream cheese: In a separate bowl, beat 8 oz of room-temperature cream cheese until completely smooth and lump-free, about 1 to 2 minutes. Scrape the bowl with a rubber spatula to make sure there are no cold pockets of cream cheese. Add 1 teaspoon vanilla extract and mix briefly to incorporate. Smoothness here prevents streaks and ensures an even mouthfeel. 3. Fold together: Gently fold about one-third of the whipped cream into the cream cheese to lighten it, then fold in the remaining whipped cream using a spatula. Fold with a gentle lift-and-turn motion to retain air; do not overmix or you’ll lose volume. Aim for an even, airy texture that will set firm after chilling. 4. Add the fun bits: Fold in 1/2 cup rainbow sprinkles and 1/2 cup mini chocolate chips if using. Fold just until distributed; excessive folding can cause sprinkles to shed color or mini chips to sink. 5. Prepare the dish: Line the bottom of a 9x13-inch (23x33 cm) baking dish with a single even layer of whole Oreo cookies. If cookies are slightly soft, press gently to form an even base. For a more uniform slice, you can briefly press cookies together or use a single crushed cookie layer mixed with a tablespoon of melted butter to bind. 6. Layer the cream: Spoon and spread a portion of the cream mixture evenly over the cookie layer, using an offset spatula or the back of a spoon to smooth. Continue alternating cookie layers and cream, finishing with a full top layer of cream. Aim for three to four layers total depending on how thick you make each layer; visual balance helps with clean slices. 7. Chill to set: Cover the dish loosely with plastic wrap and refrigerate uncovered for at least 4 hours. For best sliceability and flavor melding, chill overnight. The chilled time allows the cookie layers to soften slightly and the cream to firm up so slices hold their shape. 8. Garnish and serve: Before serving, garnish the top with extra rainbow sprinkles and crushed Oreo cookies for texture. Use a sharp knife warmed briefly under hot water and wiped dry to make cleaner slices.
You Must Know
- This dessert is best chilled overnight; the cookies absorb some moisture and the cream sets for clean slices that hold together well.
- Store in the refrigerator for up to 3 days; for longer storage freeze in an airtight container for up to 1 month—thaw in the refrigerator before serving.
- High in dairy and gluten: contains cream, cream cheese and sandwich cookies—check ingredient labels for specific allergen warnings.
- Freezing slightly softens the cookie layers; allow 1 hour in the fridge after thawing for best slicing.
My favorite part of this dessert is how forgiving it is: if the cream is a touch over-whipped you can rescue it by folding in a tablespoon of room-temperature cream cheese, and if the cookies are too crumbly you can use a crushed-cookie base with a tablespoon of melted butter. It’s a flexible formula that reliably produces a bright, festive centerpiece.

Storage Tips
To maintain the best texture, cover the dish tightly with plastic wrap or a lid and refrigerate for up to 3 days. If you plan to freeze, portion into airtight containers or wrap individual slices in plastic wrap followed by foil; freeze for up to 1 month. Thaw overnight in the refrigerator to avoid condensation dripping onto the top layer. For reheating, this chilled dessert is best served cold; do not microwave. If the top looks slightly wet from condensation after thawing, blot gently with a paper towel and refresh sprinkles before serving.
Ingredient Substitutions
If you need alternatives, you can swap the Oreo cookies for other sandwich cookies like chocolate wafer cookies or gluten-free sandwich cookies to accommodate dietary needs. Use mascarpone in place of some cream cheese for a silkier flavor—replace up to half the cream cheese with mascarpone. For a lower-fat version, substitute whipped topping for heavy cream and use reduced-fat cream cheese, though the texture will be less stable. Replace sprinkles with chopped nuts, toasted coconut or crushed candy for different textures and flavors.
Serving Suggestions
Slice into squares and serve chilled on a platter garnished with extra sprinkles and a few whole mini cookies for presentation. Pair with a simple cup of coffee or a cold glass of milk for classic comfort. For a buffet, cut into bars and arrange on a tiered tray; for birthdays, add piped whipped cream rosettes and candle placement. This dessert also works well alongside lighter fruit options like a citrus salad to balance richness.
Cultural Background
The idea of layered no-bake chilled desserts has roots in American refrigerator cakes and icebox cakes of the early 20th century, where cookies and whipped fillings were layered and refrigerated rather than baked. The “funfetti” aesthetic—bright sprinkles folded into batter or cream—originated as a celebration-style twist in the late 20th century, and combining nostalgic sandwich cookies with colorful sprinkles brings together two distinctly American dessert traditions into a single, playful dish.
Seasonal Adaptations
For spring and summer, use pastel sprinkles and decorate with edible flowers for a light, festive look. In fall, swap rainbow sprinkles for autumn-toned nonpareils and fold in a teaspoon of pumpkin pie spice to the cream. For the winter holidays, replace sprinkles with crushed peppermint candies and garnish with chocolate shavings. The formula is versatile—seasonal mix-ins and themed garnishes let you adapt for every occasion.
Meal Prep Tips
Make the cream layer a day ahead and keep it chilled in an airtight container; assemble the layers the morning of serving for fresher cookies on top. Alternatively, assemble completely and refrigerate overnight for best slicing. If transporting to a party, carry the dessert in an insulated cooler with ice packs to keep it chilled until serving time. Use a parchment sling in the dish for easy removal and cleaner serving when slicing into bars.
This dessert is a reliable, festive crowd-pleaser that brings together nostalgia and texture with minimal effort. Whether you’re feeding a crowd or making something special for family, the No-Bake Funfetti Oreo Icebox invites creativity and sharing—make it your own and enjoy the smiles it brings.
Pro Tips
Chill your mixing bowl and beaters before whipping cream for faster, more stable peaks.
Use an offset spatula and a knife warmed under hot water for cleaner slices.
Fold gently to preserve air — overmixing the whipped cream will deflate the filling.
If the cream becomes too soft, refrigerate the mixture for 20 minutes to firm before layering.
This nourishing no-bake funfetti oreo icebox recipe is sure to be a staple in your kitchen. Enjoy every moist, high protein slice — it is perfect for breakfast or as a wholesome snack any time.
Tags
No-Bake Funfetti Oreo Icebox
This No-Bake Funfetti Oreo Icebox recipe makes perfectly juicy, tender, and flavorful steak every time! Serve with potatoes and a side salad for an unforgettable dinner in under 30 minutes.
Ingredients
Base
Cream Layer
Mix-ins
Instructions
Whip the cream
Chill your mixing bowl and beaters briefly. Combine 1 cup cold heavy cream and 1 cup powdered sugar in the bowl and whip to stiff peaks using an electric mixer. Stiff peaks provide structure for the filling.
Prepare the cream cheese
Beat 8 oz softened cream cheese until completely smooth. Add 1 teaspoon vanilla and mix. Smoothness prevents lumps and ensures an even texture when folded with the whipped cream.
Fold together
Gently fold one-third of the whipped cream into the cream cheese to lighten, then fold in remaining whipped cream using a lift-and-turn motion to retain air.
Add mix-ins
Fold in 1/2 cup rainbow sprinkles and 1/2 cup mini chocolate chips if using, just until distributed to avoid color bleeding or sinking.
Layer the dish
Line the bottom of a 9x13-inch pan with a single even layer of Oreos. Spread a portion of the cream mix over the cookies. Repeat to create alternating layers, finishing with cream on top.
Chill to set
Cover loosely and refrigerate for at least 4 hours; overnight chilling yields the best slices and flavor integration.
Garnish and serve
Before serving, top with extra sprinkles and crushed cookies. Use a warm, dry knife for clean slices. Serve chilled.
Last Step: Please leave a rating and comment letting us know how you liked this recipe! This helps our business to thrive and continue providing free, high-quality recipes for you.
Nutrition
Did You Make This?
Leave a comment & rating below or tag
@kitchenfunwithmy3sons on social media!
Categories:
You might also like...

Cheesy Ranch Oven Roasted Potatoes
Golden baby potatoes roasted until crisp and tossed in ranch seasoning, Parmesan, and melty cheddar — an easy, crowd-pleasing side that’s ready in under an hour.

Strawberry Dirty Sprite Drink
A fizzy blend of strawberry syrup, fresh lime, and lemon-lime soda, served chilled with vibrant garnishes for the ultimate refreshing beverage — boozy or not.

Russian Salmon Potato Salad with Eggs, Dill & Capers
A satisfying Russian-style salad combining seared salmon, tender baby potatoes, soft-boiled eggs, dill, capers and gherkins — perfect for light lunches or a weekend gathering.
Did You Make This?
Leave a comment & rating below or tag @kitchenfunwithmysons on social media!
Rate This Recipe
Share This Recipe
Enjoyed this recipe? Share it with friends and family, and don't forget to leave a review!
Comments (1)
This recipe looks amazing! Can't wait to try it.
Comments are stored locally in your browser. Server comments are displayed alongside your local comments.

Hi, I'm Katie!
What's Popular
30-Minute Meals!
Join to receive our email series which contains a round-up of some of our quick and easy family favorite recipes.