>>
30-MINUTE MEALS! Get the email series now →


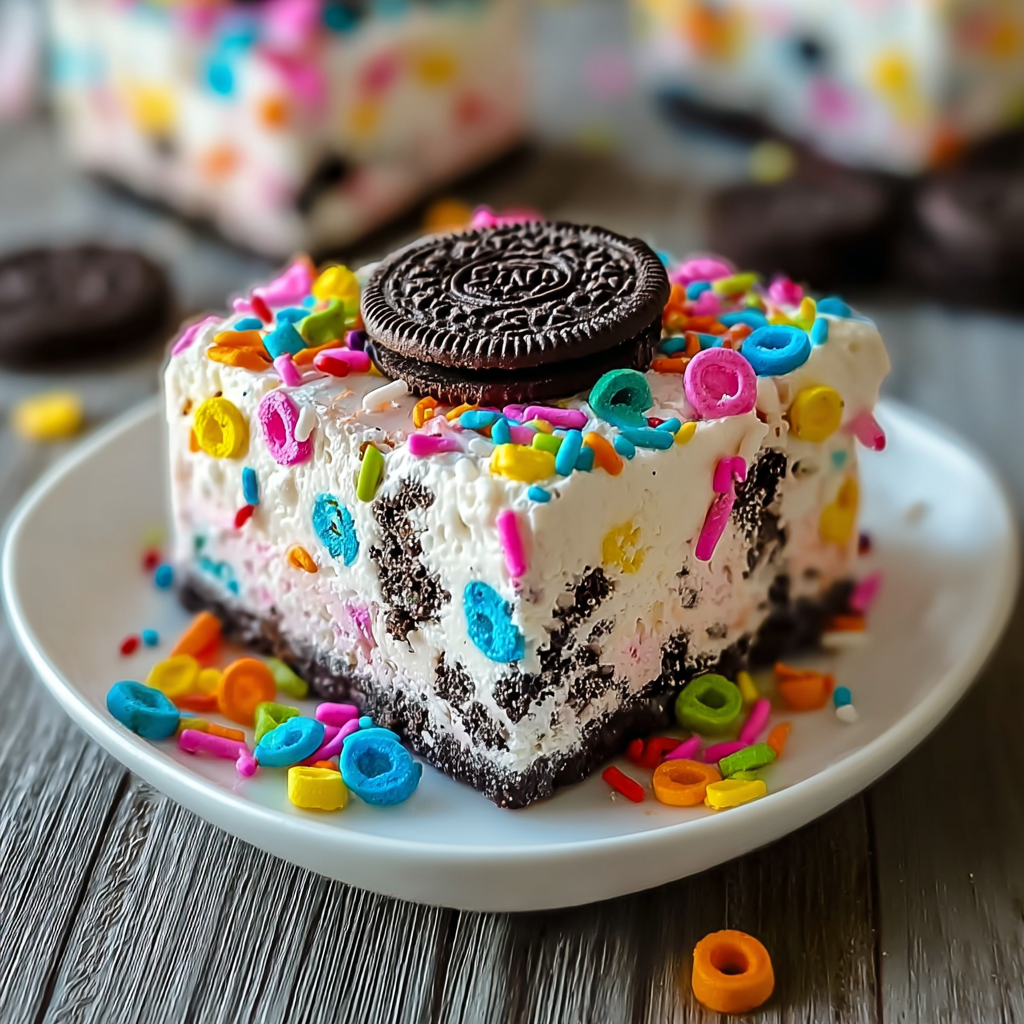
A delightful fusion of fudgy chocolate brownies and chewy mochi texture — dense, slightly sticky, and irresistibly chocolatey. Makes 12 pieces.

This recipe is my love letter to two worlds: the fudgy intensity of a classic chocolate brownie and the pillowy chew of Japanese mochi. I first combined these textures on a rainy afternoon when I had mochiko flour left over from a batch of dango and a craving for something intensely chocolate. The result surprised me — deep chocolate flavor with a uniquely elastic crumb that pulls instead of crumbles. It quickly became a dessert I make when I want something that feels indulgent but is oddly comforting to eat.
I discovered the ideal balance of ingredients after several tests: a touch less butter than a traditional brownie to keep the chew from becoming greasy, a slightly higher milk ratio to make the batter glossy, and a long, patient bake to set the mochi without drying it out. Each bite is a contrast — a crisp edge, a fudgy center, and that distinctive mochi chew. Friends always ask what makes them different, and the answer is simple: texture. These are the brownies you’ll serve when you want people to stop and remark on something special.
When I first served these at a small dinner, my partner cut a piece, took a bite, and said, "This is like a brownie and a rice cake had a really good baby." That offhand line stuck — guests always come back for another piece, and the mochi chew makes leftovers feel like a treat rather than a plain snack.

My favorite aspect is how forgiving the batter is. The first time I baked them, I underestimated the baking time and the center looked underdone; after cooling, it proved perfectly set and chewy. Friends who generally prefer either chewy or fudgy desserts end up loving both textures here. These squares are also a fantastic way to use specialty mochiko you might have bought for another project.
Store cooled pieces in an airtight container at room temperature for up to 2–3 days. For longer storage, wrap individual squares in plastic wrap and freeze in a sealed container for up to 3 months. Thaw in the refrigerator overnight or at room temperature for an hour before serving. Reheat briefly in a microwave (10–15 seconds) to restore a slight softness, or warm in a 300°F oven for 8–10 minutes to revive the exterior crispness while keeping the chewy center intact.
If you need a dairy-free version, replace butter with a neutral oil (such as vegetable or melted coconut) and use a plant-based whole milk substitute; note that oil will slightly reduce the perception of richness. Swap the dark chocolate topping for chocolate chips or chopped milk chocolate for a sweeter bite. If you want more depth, stir in 1 tablespoon espresso powder with the wet ingredients to intensify chocolate flavor. Be cautious replacing mochiko — tapioca flour won't give the same chew.
Serve warm with a dollop of whipped cream or a scoop of vanilla ice cream to contrast temperature and texture. For a simple presentation, dust lightly with powdered sugar and garnish with a few chocolate shavings. These are excellent alongside green tea or a bold coffee. For a party platter, cut into smaller squares and pair with fresh berries to balance the richness.

Mochi originates from Japan as a celebratory rice cake made from glutinous rice. Mochiko is the powdered form of sweet rice and is widely used in both savory and sweet applications. The idea of combining mochiko with Western-style desserts is popular in fusion baking; in Hawaii and parts of the West Coast, mochiko treats like butter mochi are a staple. These brownies borrow that chewy base and pair it with intense chocolate for a cross-cultural dessert that celebrates both textures and flavors.
For autumn, fold in 1/2 teaspoon ground cinnamon and a pinch of nutmeg and top with toasted pecans for a warming variation. In spring, replace half the chocolate with white chocolate and stir in lemon zest for a bright contrast. Holiday versions can include a ribbon of salted caramel swirled into the batter before baking or a sprinkle of flaked sea salt on top for a festive touch.
Make the batter up to one day ahead and refrigerate in the mixing bowl covered; allow it to come to room temperature and give it a gentle stir before pouring into the pan. Bake as directed and cool completely. When packing for lunches, wrap individual squares in parchment and place in a sealed container to prevent sticking. For grab-and-go snacks, freeze individually and thaw in the morning for an afternoon treat.
These mochi brownies are a small thing that brings people together — a plate brought to a neighbor or a batch tucked into a lunchbox always elicits smiles. Make them your own by experimenting with toppings and mix-ins, and don’t be afraid to trust the cooling time: that patience is the secret to neat, chewy squares that everyone will remember.
Always let the brownies cool completely before slicing to prevent sticking and ensure clean edges.
Measure mochiko by spooning into the cup and leveling off rather than scooping directly from the bag to avoid compaction.
If the top browns too quickly, tent loosely with foil after 40 minutes of baking to allow the center to finish without over-browning.
This nourishing mochi brownies recipe is sure to be a staple in your kitchen. Enjoy every moist, high protein slice — it is perfect for breakfast or as a wholesome snack any time.
This Mochi Brownies recipe makes perfectly juicy, tender, and flavorful steak every time! Serve with potatoes and a side salad for an unforgettable dinner in under 30 minutes.
Preheat oven to 350°F. Line an 8x8-inch pan with parchment paper, leaving an overhang for easy removal.
In a medium bowl, whisk mochiko, cocoa powder, sugar, and baking powder until well combined and aerated.
In a large bowl, whisk melted butter, eggs, milk, and vanilla until glossy and uniform with no streaks.
Fold dry ingredients into wet until evenly blended; avoid overmixing. Batter should be thick but pourable.
Pour into prepared pan, sprinkle chopped chocolate on top, and bake 60–70 minutes until set and a toothpick comes out mostly clean.
Cool completely on a wire rack (1–2 hours), then lift out with parchment and slice into 12 pieces. Chill briefly if cleaner slices are desired.
Last Step: Please leave a rating and comment letting us know how you liked this recipe! This helps our business to thrive and continue providing free, high-quality recipes for you.
Leave a comment & rating below or tag
@kitchenfunwithmy3sons on social media!
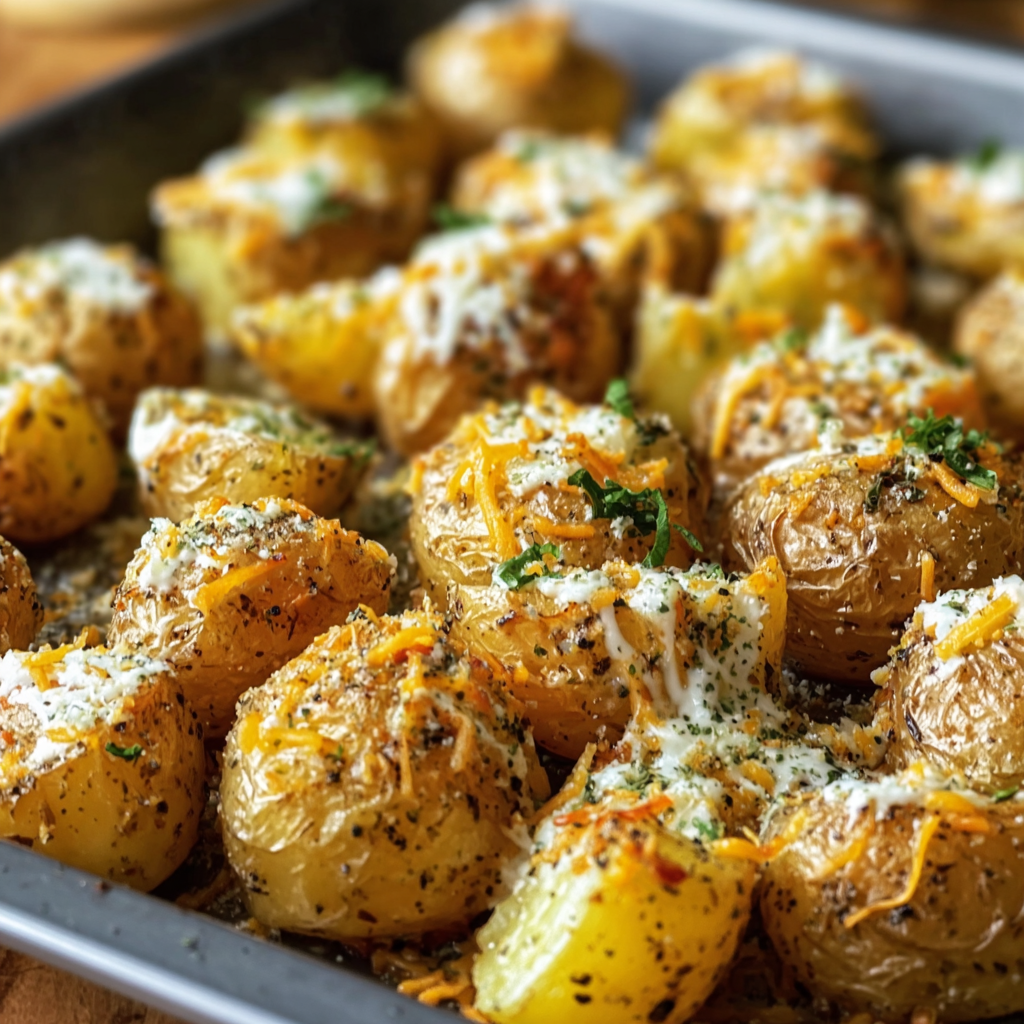
Golden baby potatoes roasted until crisp and tossed in ranch seasoning, Parmesan, and melty cheddar — an easy, crowd-pleasing side that’s ready in under an hour.

A fizzy blend of strawberry syrup, fresh lime, and lemon-lime soda, served chilled with vibrant garnishes for the ultimate refreshing beverage — boozy or not.
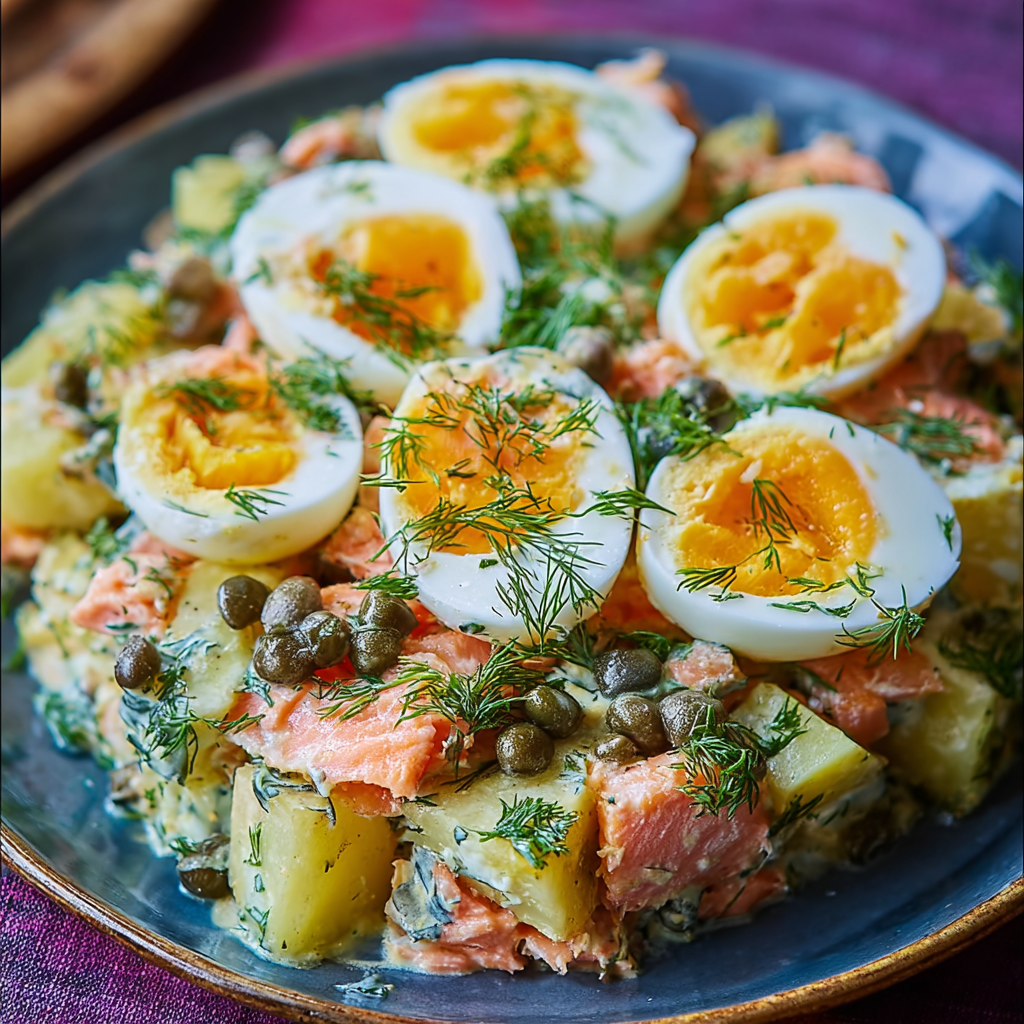
A satisfying Russian-style salad combining seared salmon, tender baby potatoes, soft-boiled eggs, dill, capers and gherkins — perfect for light lunches or a weekend gathering.
Leave a comment & rating below or tag @kitchenfunwithmysons on social media!
Enjoyed this recipe? Share it with friends and family, and don't forget to leave a review!
This recipe looks amazing! Can't wait to try it.
Comments are stored locally in your browser. Server comments are displayed alongside your local comments.

Join to receive our email series which contains a round-up of some of our quick and easy family favorite recipes.